Widgets
Project Zero web pages consist of widgets, and these widgets contain components such as text, image uploads, and drop-down menus. Each widget JSON contains schema to describe the widget content.
Widget Creation
| Property | Data Type | Required | Description |
|---|---|---|---|
data_type | string | * | Component data type. It could be; text: Creates standart text component image: Creates image upload component dropdown: Creates dropdown selection box. It should used with choices dict. area: Provides custom field view and is used to create HTML editor. It is mandatory to have a display field with it.nested: It is mandatory to use in nested structures and data_type value of the outermost(root) object must be nested. |
key | string | * | It is used to match the data of the component. It must same as the object name of the component |
label | string | * | It determines how the component name displays on the back office panel. It is preferable to be short and understandable |
display | string | It is used when build datepicker or HTML editor component. | |
required | boolean (default:True) | This | |
multi | boolean (default:True) | It is used when creating more than one the same component. It can't be used inside the multi component. | |
is_localizable | boolean | It is used to localize widgets according to languages. For example; Considering that the same store sites in different languages are managed from the same back office panel, the widget where the "is_localizable" parameter is "true" can be added with different languages. | |
schema | object | If data_type is nested, schema is required field. |
Example
{
  "sliders": {
    "multi": true,
    "schema": {
      "name": {
        "data_type": "text",
        "key": "name",
        "label": "Name"
      },
      "slug": {
        "data_type": "text",
        "key": "slug",
        "label": "Slug"
      }
    },
    "data_type": "nested",
    "key": "sliders",
    "label": "Sliders"
  }
}
NOTE:
keyvalue must same as the object name of the component
{
  "slider": {
    "data_type": "text",
    "key": "slider",
    "label": "slide component"
  }
}
Choices example
{
  "button_alignment": {
    "choices": [
      {
        "value": "block",
        "label": "One under the other"
      },
      {
        "value": "inline",
        "label": "Side by side"
      }
    ],
    "data_type": "dropdown",
    "key": "button_alignment",
    "label": "Buttons appear side by side or one under the other?"
  }
}
Display example
{
  "answer": {
     "data_type": "area",
     "display": "html-editor",
     "key": "answer",
     "label": "Answer"
  }
}
Defining Widget on Omnitron
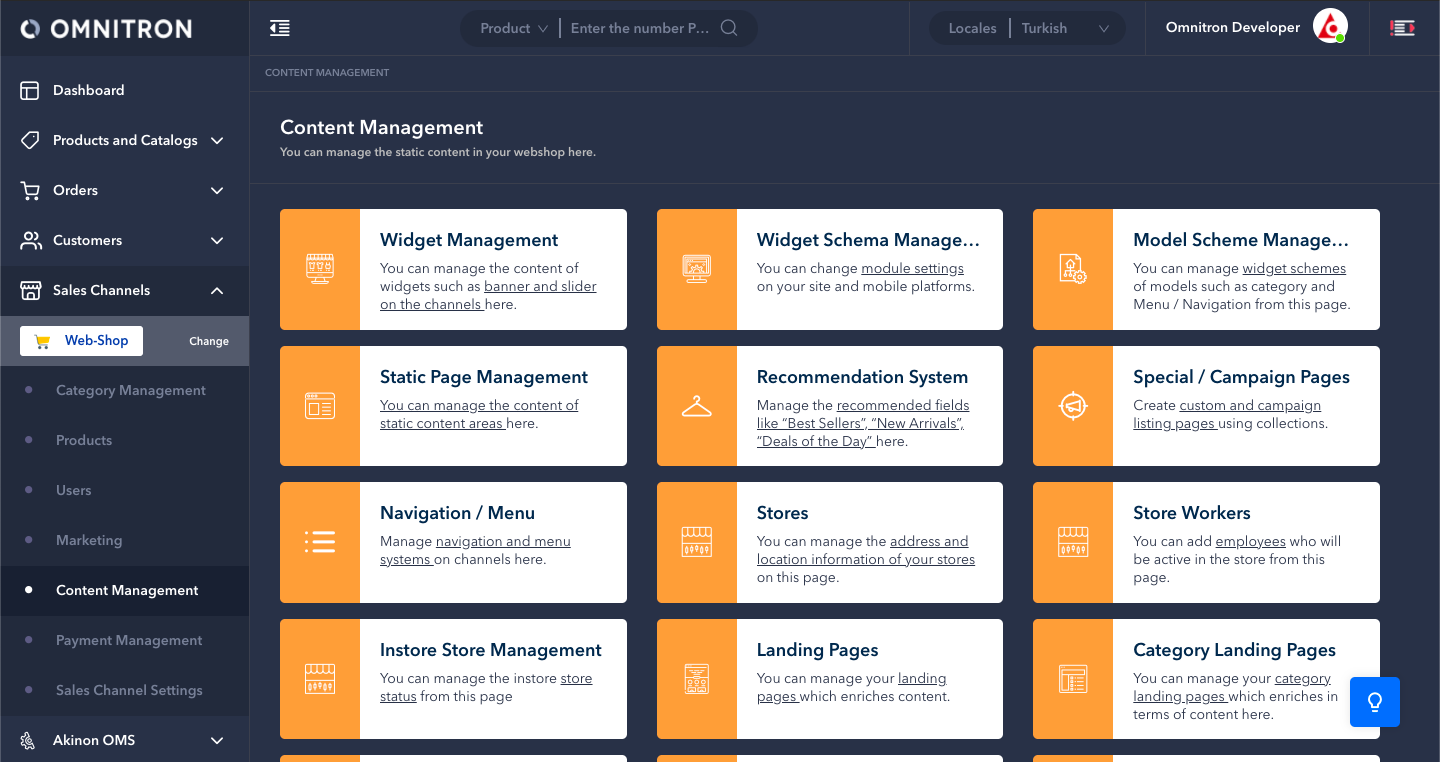
Once the schema is created as desired, go to the Content Management -> Widget Template Management page on Omnitron and click on the "Add Widget Template" button.
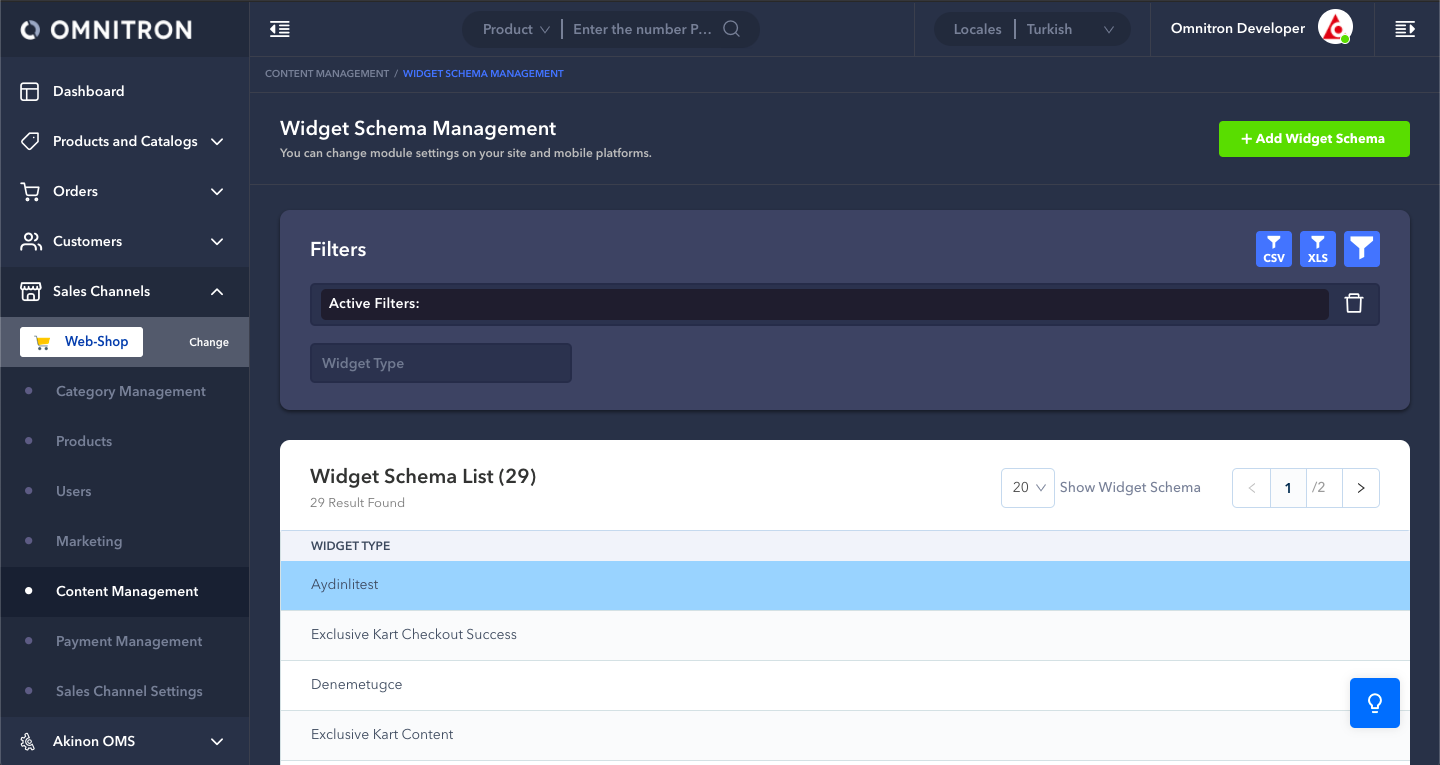
Type in the Widget Type in the following page and insert the created schema.

Once the schema is successfully inserted, go to the the Content Management -> Widget Management page and click on the "Add New Widget" button.

Select the added widget type in the following page. After this step, you will see inserted fields in the schema.
![]()
Widget name refers to the representation of widget on the panel, while widget slug refers to the code representation of the widget. Widget slugs should be in “kebab-case”. The path of the HTML file which contains widget data is inserted in the remaining “Template” field. Generally, these templates are saved in the “template.html” file located in the “templates/widgets/widget-name/” path. When adding this path to the “Template” field, start with the “widgets/” folder.
Localizable Example
The "is_localizable" field should be added for all schema items as shown in the example. That means, it should be added not only in the "message" field, but both in the "message" and the "title" fields. If "nested" data_type is used, then it is sufficient to add only to the "root" object.
{
  "message": {
     "required": "true",
     "data_type": "area",
     "key": "message",
     "label": "Description"
  },
  "title": {
     "required": "true",
     "data_type": "text",
     "key": "title",
     "label": "Title"
  }
}
Widgets added in this manner will behave differently when language option on Omnitron is changed. For instance, if we add a widget in English language but switch to French language later, then our widget will no longer contain the same data. In this manner, we enable different data management for different languages. It is important to make sure that the correct language option is selected when adding widgets because otherwise, it will rewrite on existing widget data.
Widget Integration
Once all data is accurately entered, you need to integrate the widget into a page to test. This can be any page. The created widget is called to the page as follows:
{% set extra_widgets = ['my-widget'] %}
...
{% set widget = all_widgets['my-widget'] %}

{% if widget %}
  {% include widget.template ignore missing %}
{% endif %}
The first row in the example should appear in the first row of the page where the widget will be called. If it already exists, then a new one should not be created but it should be added into the array.
The lower part is where the widget template will be used. If a template is not required and if only widget data will be used, then:
{% set widget = all_widgets['my-widget'].attributes %}
in this way, the assignment can be made and the relevant data can be obtained from it.
You can now establish the widget HTML to match the path and folder name we entered in Omnitron.
{% set data = widget.attributes %}
{% if data.image.kwargs.url %}
  <div class="image-banner {{ if data.image_width.value == 'yes' %}full-width{% endif %}">
    <a href="{{ data.image_url.value if data.image_url.value else '#'}}">
      <img src="{{ data.image.kwargs.url }}" alt="Banner">
    </a>
  </div>
{% endif %}
As widget data is always accessed through widget.attributes, it is standard practice to assign as in the first row.
Widget Orders
Sometimes, a page will have its content change frequently, such as a home page. In these scenarios, instead of constantly editing the code, a widget-order widget is used. This is a simple widget with multiple text fields where you can enter widget slugs and re-order them.
To integrate this kind of widgets to your code, you will need to use a special macro called get_ordered_widgets.
{% from 'widgets/widget-generator.html' import get_ordered_widgets with context %}

{% set extra_widgets = ['home-widget-order'] %}

{% block content %}
  {% set order_widget = all_widgets['home-widget-order'] %}

  {{ get_ordered_widgets(order_widget=order_widget) }}
{% endblock %}
This macro will loop through the widget slugs you entered in to the widget-order widget and render their templates in order.
Accessing Values
As seen in the example, the “key” values corresponding to the fields in our schema are used to access relevant data. Below methods can be used to view widget data:
{{ data|jsonify|safe }} // Page can be viewed from source code
<pre> {{ data|pprint }} </pre> // Can be viewed on the page
shop.url/widgets/widget-slug // Outputs JSON via browser